
The short version, by WallPanels Studio: Wall panels are the best way to HIDE an ugly wall — scratches, stains, old texture, hairline cracks, slight waviness. They are not a way to FIX a sick wall: moisture, mold, crumbling plaster, and structural cracks must be repaired first, because panels only hide what is underneath and moisture trapped behind them always gets worse. For a noticeably wavy wall, pros build a new flat plane on top of it with furring strips and shims — the panels never touch the bad wall directly. Rule of thumb: if the wall is dry, solid, and stable, panels will make it beautiful. If it is wet, loose, or moving — fix first, panels second. Not sure which one you have? Send a photo through our wall form and we will tell you honestly, before you spend a dollar.
What kind of damage do you have?
Short answer: Every ugly wall falls into one of three buckets: cosmetic (panels hide it), wavy (panels hide it, but only on a leveled frame), or structural/wet (fix it first — panels are not the answer yet).
Grab a straightedge or a long level and hold it against the wall. Then check:
- Cosmetic damage — scratches, stains, old paint texture ("orange peel"), small nail holes, hairline cracks. The wall is flat and solid, it just looks bad.
- Wavy or bumpy wall — the straightedge rocks or shows gaps. The surface waves but nothing crumbles when you touch it. Common in older Florida homes where drywall was never perfectly straight.
- Sick wall — damp spots, mold, peeling or bubbling paint, plaster that crumbles under your finger, cracks you can fit a coin into, sections that flex when you press them.
Buckets 1 and 2 are exactly why wall panels exist. Bucket 3 is where you stop and fix — and this article will show you why.
What CAN wall panels hide?
Short answer: Almost everything you can see but cannot feel move: stains, scratches, ugly texture, small cracks, patch jobs, even old tile — as long as the base is dry and firmly attached.
Panels are a designer's shortcut: instead of skim-coating, sanding, and repainting a whole wall, you cover the problem with something better-looking. Here is what routinely disappears under a professional panel job:
- Stains and discoloration — water spots that dried long ago, smoke, kid-art, old paint jobs in colors you hate. Sealed and covered, gone.
- Texture — heavy orange-peel or knockdown texture that dates the whole room. Panels sit proud of it; the texture stops existing visually.
- Hairline cracks — the thin settling cracks almost every Florida home has. If the crack is not growing and the wall is dry, panels cover it permanently.
- Patchwork — different patches, spackle spots, mismatched paint. The panel is one continuous surface; underneath does not matter.
- Old firmly-attached tile — PVC panels, for example, can be installed directly over existing ceramic tile that is clean, dry, and solidly bonded (TurboOrchid, PVC panels guide). No demolition needed.
The condition is always the same, and manufacturers state it in writing: the base must be clean, completely dry, free of loose material, and structurally able to carry the panels' weight (Wonderwall Studios installation manual). If your wall passes that test, its ugliness is a design problem, not a construction problem — and panels solve it.
What must be FIXED before panels go up?
Short answer: Anything wet, loose, crumbling, or moving. Panels follow the wall underneath — and Florida humidity turns small moisture problems behind panels into big ones.
This is the honest part most sellers skip. One manufacturer's substrate guide lists the no-go surfaces plainly: loose or crumbling plaster, peeling or flaking paint, damp or water-damaged walls, uneven or unstable surfaces, loose or hollow-sounding tiles (FLOAT, compatible substrates guide). Their golden rule: "if the substrate is weak, unstable, damp, or uneven, it's not suitable."
The five deal-breakers:
- Active moisture. A wall that is wet now will be wet behind the panels — only worse, because air no longer reaches it. Trapped moisture rots adhesives, warps wood-based panels, and grows mold you cannot see until it smells. Fix the leak, dry the wall completely, then talk panels.
- Mold. Never seal mold inside a wall. It keeps growing in the dark, damp sandwich you just built for it. Remediate first.
- Crumbling plaster or peeling paint in sheets. Adhesive bonds to the top layer. If that layer is letting go of the wall, your beautiful panels are bonded to something that is falling off. Scrape to solid material or skim-coat first.
- Structural cracks. A crack you can fit a coin into — especially a diagonal one, or one that keeps growing — is the house telling you something moved. As one UK design expert put it, on walls with significant structural issues "it's best to avoid installing wall panelling as it will not provide a solid foundation," because the panels will eventually warp and get damaged along with the wall (Ideal Home). Get it checked before you decorate over it.
- Flexing drywall. Press the wall: if it moves, panels glued to it will move too, and adhesive bonds crack under movement. The section needs to be re-secured to the studs.
None of this is a reason to abandon the project — it is a reason to do the prep. A repaired wall plus panels looks better than a new wall, because you get the design upgrade on top of a healthy base.
How do pros make a wavy wall perfectly flat?
Short answer: They don't fight the wave — they build a new, perfectly flat plane on top of it: find the highest point, screw on horizontal furring strips leveled with shims, and mount the panels to the strips, never to the wavy wall.
This is the professional method for bucket-2 walls (wavy but solid), and it is also how installers handle walls with deep irregularities that adhesive alone cannot absorb. If deviations run deeper than about 6 mm, pros switch from adhesive to shims, packers, or partial battens (Installeronline, tackling uneven walls). The furring-strip method, step by step:
- Find the high point. Hold a long straightedge against the wall and find the spot that sticks out the farthest into the room. That point is your zero — everything else gets built out to match it, so you lose the least room depth possible (EngineerFix).
- Screw on the first strip at that point. Furring strips (simple 1x2 or 1x3 lumber) run horizontally, spaced 16 or 24 inches on center. The first strip goes at the high point, temporarily secured.
- Shim the rest to one plane. Run a taut string between the two end strips — the string is your truth. Every strip in between gets wood or plastic shims behind it until its face just kisses the string without pushing it. Fasteners go through strip, shims, and into the wall, so nothing can bow inward later.
- Mount panels to the strips. The panels now hang on a dead-flat, plumb frame. The wavy wall behind them is irrelevant — and as a bonus, the air gap behind the strips gives wiring a clean channel to run through.
The industry tolerance this method achieves is roughly 1/4 inch over a 10-foot span — flatter than most Florida homes were ever built. And yes, it adds about 1-1.5 inches of depth to the wall: on a 12-foot accent wall that is invisible; in a narrow hallway, say so in the consultation and we will tell you honestly if panels still make sense there.
Still weighing who should do the prep? Our DIY vs pro installation guide has the honest math — uneven walls are on the "get a pro quote" list. Send a photo of your wall through our wall form and we will tell you whether yours needs strips, a skim-coat, or nothing at all — free.

The Florida reality check: humidity + damage = double trouble
Short answer: In South Florida, a damaged wall is more likely to also be a damp wall — and moisture is the one thing that turns a cosmetic problem into a structural one. That is why our first question is always "is it dry?"
Florida homes live in humidity most of the year. That matters for panel prep in three specific ways:
- Wet walls dry slowly here. A wall that got wet from a plumbing leak or a storm intrusion can take weeks to truly dry in our climate. "It looks dry" is not dry — moisture meters exist for a reason, and any honest installer checks before gluing.
- Wrong material + moisture = write-off. Wood-based panels (MDF slats) on a wall with any moisture history will swell and never recover. Wet-adjacent walls get PVC/WPC only — our materials vs Florida humidity guide maps which material belongs where.
- Acclimation is non-negotiable. Panels must sit in the room 24-48 hours with the AC running before installation, or they move after the job is done — open seams, bowed panels. On a wall that was already imperfect, skipped acclimation turns small gaps into visible ones.
This is also why the timeline for a panel job on a damaged wall is longer than on a clean one — prep and drying add days, not hours. Our installation timeline guide shows where those days go.
Can you just glue panels over damage and skip the prep?
Short answer: You can — and you will redo it. Panels follow the wall underneath: glue them to a wave and you get a wavy panel wall; glue them to peeling paint and the paint's bond becomes your wall's bond.
The temptation is real: the wall is ugly, the panels are beautiful, the adhesive tube is right there. Here is what skipping prep actually buys:
- Telegraphed waves. A rigid slat panel laid across a dip either bridges it (hollow spot behind — tap it and it sounds cheap) or follows it (the wave is still visible, now in expensive wood). Either way the premium look is gone.
- Peeling panels. Construction adhesive is only as strong as the weakest layer. Glossy paint, dust, old wallpaper paste, crumbling skim-coat — the panels peel off weeks later, sometimes taking drywall paper with them.
- Trapped problems. Every issue you covered is still there, getting worse in the dark. When it surfaces, the fix means removing panels — and panels removed are panels re-bought.
Prep is the unglamorous 80% of a panel job that determines 100% of how it looks in a year. It is also the part where hiring a pro pays for itself fastest — which is exactly what our installation cost breakdown accounts for: prep is a line item, not a surprise.
Quick decision checklist
Short answer: Dry, solid, stable — panels. Wet, loose, moving — fix first. Wavy — strips. Then send us the photo.
Run through this before you buy a single panel:
- Is the wall dry? No damp spots, no musty smell, no recent leak. If unsure — get it checked, don't guess.
- Is it solid? Press it, knock on it. Nothing crumbles, nothing flexes, nothing sounds hollow.
- Is it stable? Cracks, if any, are hairline and not growing. No diagonal "the house moved" cracks.
- How wavy is it? Straightedge test: gaps under ~6 mm — adhesive and careful work handle it. Bigger waves — furring strips.
- What's the moisture history? Any past leak or flood on this wall? Then PVC/WPC only, and only after verified drying.
- Electrical and plumbing clear? Panels should not seal off fittings you may need to reach later (Ideal Home) — plan access or reroute first.
Checked the boxes? Then your ugly wall is a perfect candidate. Send a photo of it through our wall form — tell us the room and what bothers you about the wall, and we will answer in one message: panels as-is, panels after prep, or fix first. Plus a free AI preview showing your wall with panels on it, before you spend a dollar. WallPanels Studio — wall panel design and installation in Broward County, Fort Lauderdale, Boca Raton, and Deerfield Beach, South Florida.
Sources
- FLOAT - On what Substrates can our Concrete wall panels be installed? - https://floatconcrete.com/blogs/news/compatible-substrates-for-float-concrete-wall-panels
- Coohom - Walls Look Scratched or Dull? Try Wall Laminate Panels. - https://www.coohom.com/article/wall-laminate-ideas-maximizing-style-and-durability
- Ideal Home - 8 places you should never put wall panelling in your home. - https://www.idealhome.co.uk/all-rooms/all-rooms-decor/places-you-should-never-put-wall-panelling-in-your-home
- Wonderwall Studios - Installation Manual COAST. - https://wonderwallstudios.com/wp-content/uploads/2014/09/WWS_INSTALLATION-MANUAL_COAST_ENGLISH.pdf
- InstallerOnline - Tackling Uneven Walls - What installers need to know. - https://www.installeronline.co.uk/kitchens-bathrooms/tackling-uneven-walls-what-installers-need-to-know/
- EngineerFix - How to Install Furring Strips for a Wall. - https://engineerfix.com/how-to-install-furring-strips-for-a-wall/
- TurboOrchid - The Complete Guide to PVC Wall Panels for Interior Walls. - https://turboorchid.com/en/the-complete-guide-to-pvc-wall-panels-for-interior-walls-6736622/?hl=en&placement&s1=6aabfe5e0e5eeffc2f16be59&utm_content=120249282472860442&utm_source=facebook&adtitle=PVC+Wall+Panels+For+Interior+Walls+-+Guide+Interested+in+PVC+wall+panels+for+interior+walls%3F+Learn+more+in+thi
- DecorativeCeilingTiles.net - How to Install Wall Panels with Adhesive. - https://www.decorativeceilingtiles.net/blog/how-to-install-wall-panels-with-adhesive/
---
Free design consultation: send a photo of your wall and see it with panels (AI preview). Send a photo through our wall form. WallPanels Studio - wall panel design and installation in Broward County, Fort Lauderdale, Boca Raton, and Deerfield Beach, South Florida.
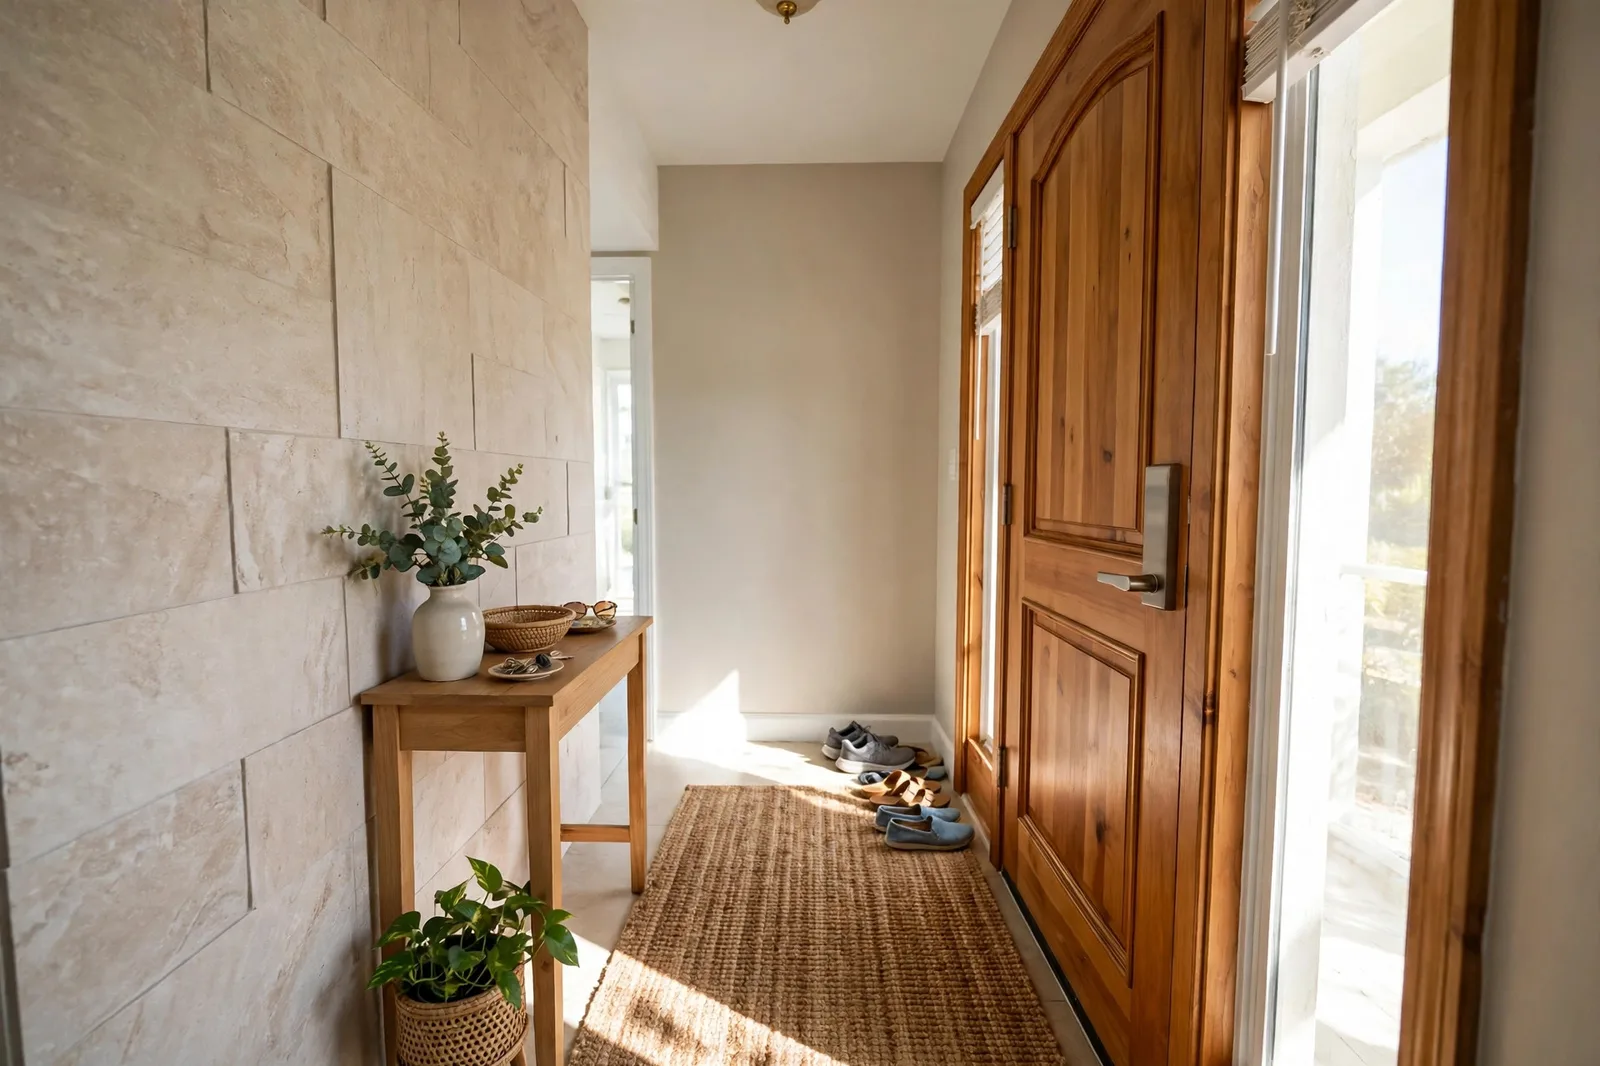
AI-generated visualization - not a photo of our work.